

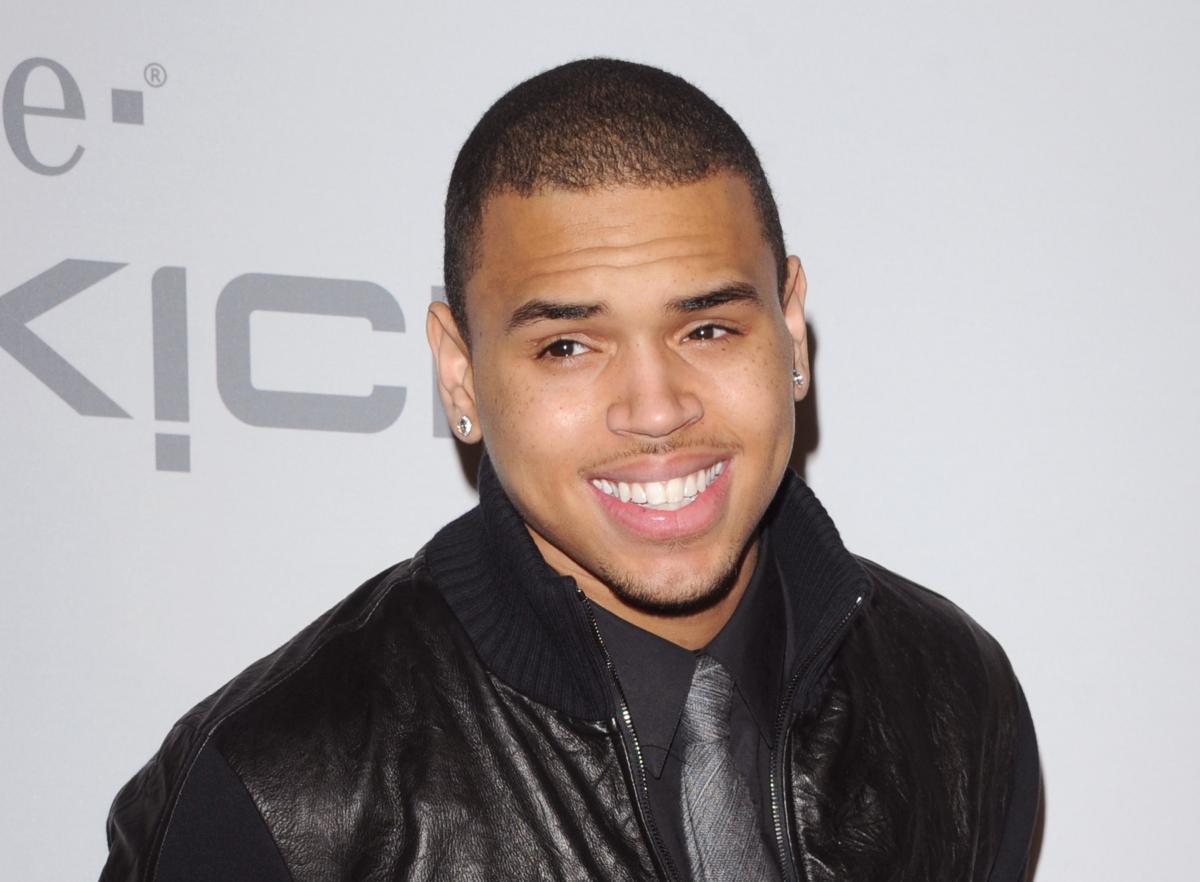
We wanna go ahead and put Samuel L. Jackson's face onto Chris Browns head. As you can see the skin tone and the lighting are different. At this point I want to state that there are various ways to accomplish this in Photoshop and I will be showing one way to do it using the Auto-Blend function of Adobe Photoshop.
If we would want to swap the faces using the technique shown in my simplified tutorial you would end up looking at something like this :

Doesn't look horrible maybe, but its still not authentic enough. You could go ahead and hit CTRL+U to bring up the Hue/Saturation window to adjust the colors of the pasted face ...

...looks a tad bit better but still not perfect. Because it is a bit hard to find the perfect values I recommend using the Auto-blend method so Photoshop itself will find and adjust all the colors.
So let's get started :
1.) Open the image of the face you want to transfer and select the Lasso Tool (L) and shape out the face with it. When you're done , hit CTRL+C , change to the other image where you want the face to be and hit CTRL+V to paste the face onto the head. Now you can adjust the position and size after pressing CTRL+T to active the Free Transform mode.
Tip : You can change the opacity of the newly created face layer to about 50% while adjusting the size to orientate where to position the eyes etc.
2.) After you have positioned the face satisfactorily CTRL+Click the face layer to automatically select it. With the face selected you need to inverse the selection by pressing CTRL+SHIFT+I or choosing from the top menu Select > Inverse. Now we have everything selected but the face. What we need to do is to expand the selection by going to Select > Modify > Expand from the top menu and expanding the selection by 4px. It depends on the size of the picture you're working with. If the picture is only 640*480 you might want to only expand the selection by 2px for example. In this example I am working with an image size of 1200*800 ~ .
3.) With that done Inverse the selection again to have the face selected again with a little border of the face not selected.
4.) Now click and select the background layer (which is the head that we want to copy the face onto) and with the selection still active hit the DEL button on your keyboard. This should delete the original face under the pasted face.

5.) At this point we're almost done. Deselect everything now by pressing CTRL+D. Then hold down your CTRL-key and click each layer once to have them both selected at the same time. Now all you have to do is choose Edit > Auto-Blend Layers... and select Panorama mode in the settings window that will pop up and we are done !
