Friday, 21 December 2012

Color Black and White pictures (alternative method)


Here is part two with another way on how to color your black and white portraits. It won't be a long post as the method is very simple and straight forward. The coloring can be achieved within seconds and the effect does what its supposed to.

Nothing much left to say, so let's get started

This is the portrait that I am going to use as an example in this tutorial :


1.) Open the picture in Photoshop

2.) Duplicate the background layer and leave the background locked as a backup copy. 


Saturday, 15 December 2012

Color Black&White Pictures ( Curves Adjustment Layer )


In this tutorial I'm gonna be covering one method on how to color black and white pictures.
As always, thanks to the huge diversity that Photoshop offers there are multiple ways on how to achieve the coloring. I will only cover one of them right here. A different way can be found here : coming soon


The basic idea that comes with every BW-picture that you want to colorize is that you create a selection of an object or a certain part of the picture and then you do the magic on the 

Let's get started :

1.) Open a Black and White picture of your choice in Photoshop.

I'm gonna be using the following picture as an example


2.) For better color results with this method I recommend you to change the image color mode to CMYK Color by navigating to „Image > Mode > CMYK Color


3.) Now there are several ways to create a selection in Photoshop. For this method I prefere going with the Quick Selection Tool (W). 

Tip : When you use the Quick Selection Tool you can hold the ALT-Key while clicking to exclude certain parts from your selection without having to create a new selection all over.

Wednesday, 5 December 2012

Create your own Wallpaper #3 : Pokemon !

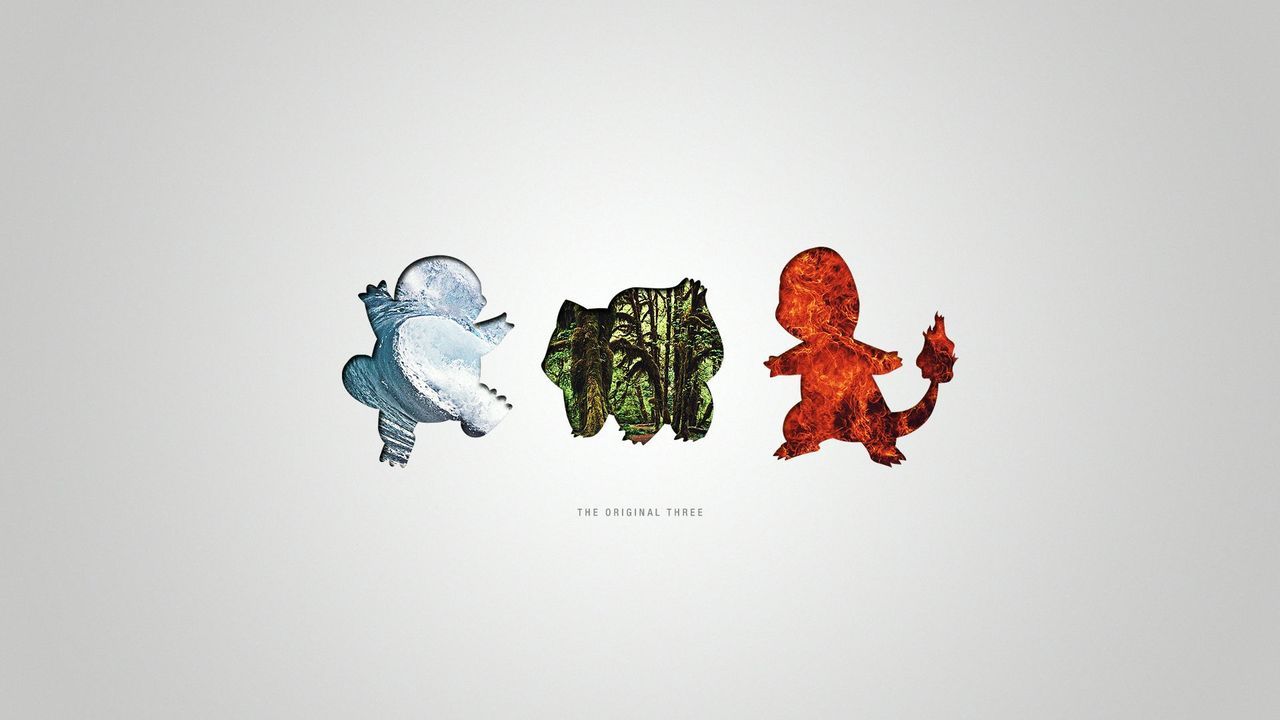
So I've stumbled upon a very cool and original Pokemon wallpaper and I was wondering if I could recreate a very similar one with one or more pokemon of my choice.


This is what the original wallpaper looks like :


And then I found a very similar one , probably created by someone else :


The reason why I wanted to show this 2nd example is, because it lacks some little tweaks in my opinion and in the following tutorial I can teach you how you can achieve the best result possible !


Let's get started :


1.) Create a document in Photoshop with the dimensions of your desktop resolution. For me I am going with an image size of 1920x1080.